
I noticed, a few days ago, the mulberries are ripening. The thing about these delectable treats is they do not all ripen at once. Every tree/bush is different as well so they have their own schedule. You’ll often see every stage of a mulberry on a single branch which creates a colorful experience. As I plucked on from its perch, enjoying the sweetness on my pallet, I thought, “I should gather some of these, make a jam, and send them to friends’ ‘. So, that’s what I did.

I went out to a local mulberry spot, layed a sheet down, and shook the branch. It only took a couple good shakes and all the ripe, ready berries fell like raindrops; many landing on the sheet I had placed to catch them, and some not so close. I managed to get most of the escaped berries, but a large few found freedom. I could have just plucked them from the tree, but I find the sheet method less time consuming. Once I’ve picked up all the berries I relocate the sheet, select another branch, and shake. I do this around the diameter of the tree and have all the berries I need. Now it’s time to get them cleaned and prepared for cooking.


I wash the berries in a bath of cold water and remove the stems, placing them in a pot as I go. (In future I will remove the stems as I pick them ←lesson I learned) Once I’ve cleaned and prepared all the berries I start to cook them over a medium heat, mashing tthem as I go. I was surprised at how much liquid these little fruit actually held. The smell was rather delightful too. I couldn’t help myself and took a quick sip with the ole spoon. “Wooo Buddy, I could leave this as is and use it as a syrup for pancakes” was my initial thought. The thought was shortlived as I became sad I wouldn’t be sharing it, so I continued on to making a jam. This wasn’t a difficult process as I only needed to add pectin. Have I mentioned that I’ve never made jam before? I add the pectin and let it simmer, hoping I don’t overcook them. In the meantime I get the jars ready.
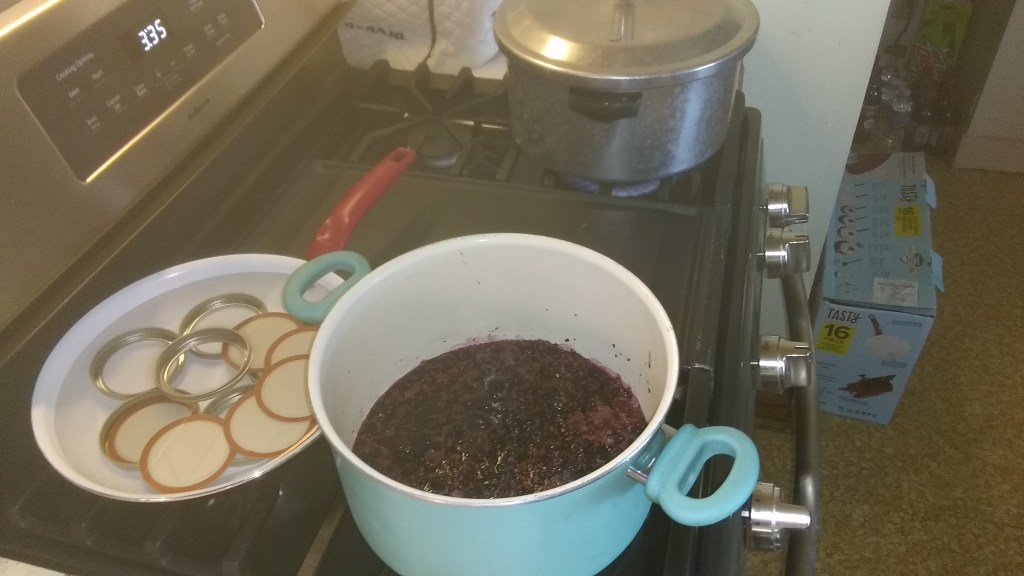
I grab a couple of pots and add hot water. I place them on the stove and bring the water temperature to 180. I don’t want it boiling, but I want it to steralize the lids. I do the same for the glass jars. I also get the pressure canner ready for use. It’s been a rather lengthy amount of time since I’ve used one, but I think I remember how it goes. Actually it’s more like I’ve never made this and I’m just going to use the same method I used as a child with my grandparents. So that’s what I did.

After the berries reduced and thickened I added them to the jars, sealed the lids on, and placed them in the pressure cooker. I then let the pressure cooker do what it does. Honestly it doesn’t take much time at all. Before I knew it I was taking out the jars and placing them on a cooling rack to dry. To my surprise I was able to fill 6 jelly jars and one half pint jar. Not too bad of a harvest and a delightfully fun experience. All in all it was worth every second of fun I had.
